Welcome to my site

Welcome to my blog. I enjoy sharing what I do with you. All images on this site are copyrighted 2003 - 2015. Please do not use any of the photos without my written permission. Thank you.

Showing posts with label Process. Show all posts

Friday, December 3, 2010

My Process for Starting One of My Quilts


I haven't posted in a couple of days. I wanted to start posting about the new quilt but couldn't because I am still waiting on a friend to bring some fabric for me. I should be getting it today. As soon as it arrives I will get started on the quilt. In the meantime I am making some bags from some fabric a friend gave me. The fabric is very colorful and it has wonderful geometric designs . I will post photos tonight of a couple of the bags I am doing now.

Here is the first black line drawing of the quilt I will be working on. I hope all of you have a wonderful weekend.

This black and white drawing was done on clear gift wrap. I use it because it is not expensive. I have attached it to a foam core board so I can lift it up and down to help me place the quilt pieces in the right places. I will put a piece of cotton fabric underneath ( once I get it) and I will draw another black and white drawing on the cotton and begin preparing the pieces of the quilt to be put in place.

Monday, November 29, 2010

After Thanksgiving

Well I had a wonderful Thanksgiving and I hope all of you did to. I had a wonderful visit with family and friends. Now it is time to get to work . I am going to start a new quilt so I am doing my black line drawing today and will post it tonight if I can get the drawing done today; if not I will post in the morning. I will be doing the garden quilt that I talked about in an earlier post.

Tuesday, October 19, 2010

Finally, a Return to My Newest Quilt


I have finally been able to get back to the quilt I am working on. I had to re size it. A friend had to help me because my first attempt was just to small. Now that the grid squares are bigger the black line drawing came out the size I need it to be. I will re-draw it again so the everything is drawn properly . I will make any last minute additions or deletions then I will get my fabric ready and get started on the quilt.


I am getting a message from blogger that I won't be able to post tomorrow because they will be doing maintenance. I will post as soon as I can.

Wednesday, October 6, 2010

It's All Black and White


Well I have spent the last couple of days resizing my drawing for the quilt I am making. After making the grid I started drawing in the picture from my original drawing and I was having a difficult time transferring all the lines. I got a little frustrated because it was starting to be a little too much work, but while I was sitting there trying to figure out what I was going to do to make the process easier for myself I noticed that if I just folded back and did one line at a time it was much easier for me. Whew!

The first picture is a picture of me laying my two drawings side by side.
 The next picture is a picture of the folds I made on the pictures.

The next picture shows the creases I made in the picture I drew on the largest grid I made.I had to fold each line back on itself, and then just drew in whatever was on the line. I had 24 lines to draw.
The top picture is a picture of the enlarged black line drawing.
After I finished and put the drawing on my foamcore board to see how it looked from a distance I realized I will have to make another drawing.
This would work better if I had an overhead projector OH Well Another drawing it is.
Looking at it from a distance, I see that I have to make the drawing wider and a little longer. The drawing is too small for the end size I want the quilt to be.
I will work on the sketch today and hopefully I will have it finished by this evening.
I think I will make every 3/4 inch square on my original drawing to equal 2 inches on my grid pattern and that should increase the picture it to the size I would like it to be on the finished design.
I may get to start picking out fabric today.There is a picture above of some of the fabric I have that I use to make my quilts. A friend gave me several boxes of fabric which I have sorted through and another friend told me she is going to send me some more in a few days.
I am hoping that I will get a chance to cut a few strips of fabric tonight so I can start making another new bag.
I also have to pull out some beads to make a necklace for a friend for her birthday.
Whew again! Hope I can get it all done today.

Saturday, October 2, 2010

2nd Black and White Drawing for New Quilt


I got the second black line drawing for the quilt I am making done today.
I was able to get most of the elements I wanted drawn in. There is a small waterfall;
a stone bench; a wind chime; a bridge; stone steps; a small pool into which I will put koi and water lilies; large boulders; a staircase leading down to the garden and a round arch for the entrance to the garden.
The other picture is the grid I made so that I can enlarge the picture. I sure could use an overhead projector to enlarge the drawing.
It will take me a couple of days to transfer the picture I drew on to the grid.
For me this is the tedious part of making a quilt but the rest of the steps I don't mind.
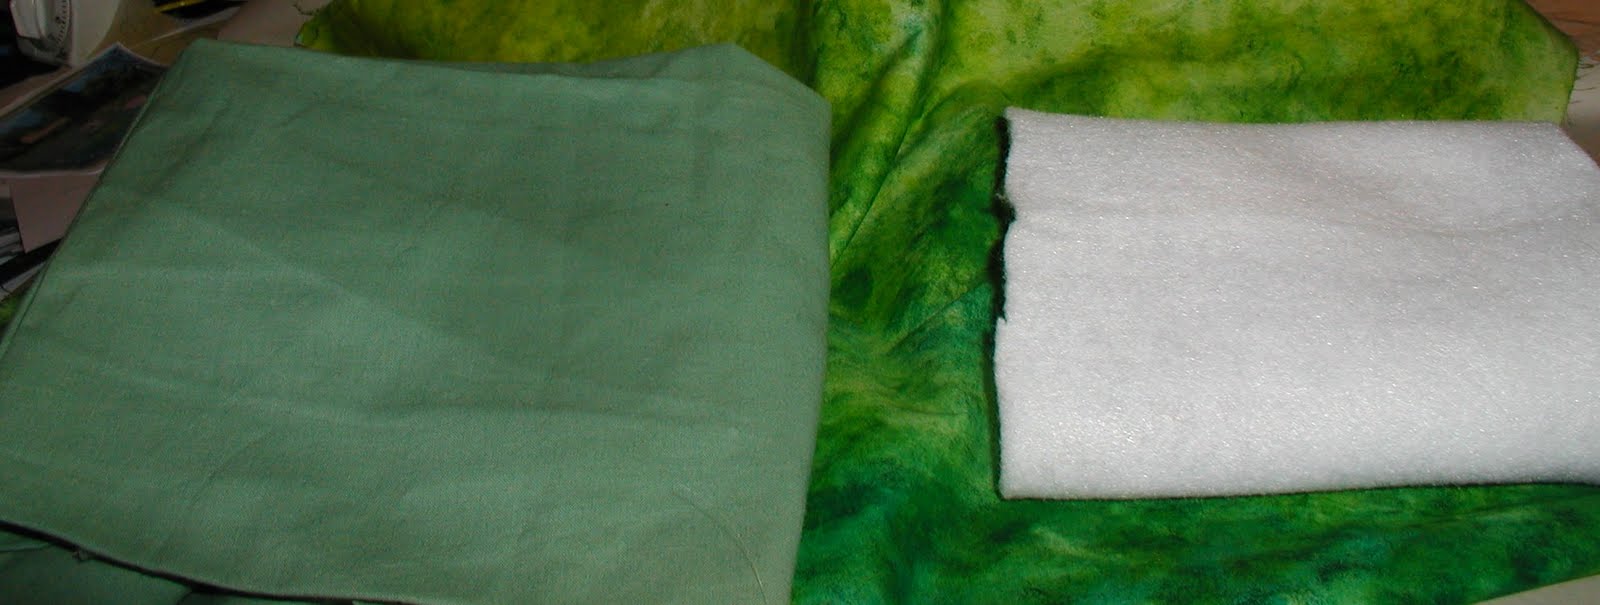
I had to spend a couple of hours sorting my fabric today as well. When I am picking my fabric, I pick fabric for the back ground, middle and front sections of the quilt. I also pick a variety of sizes of plants, flowers etc. I will post pictures of the different fabrics I use once I make my choices. I also pick light, medium and dark fabrics and fabrics with various degrees of clarity in the design. The fabrics that are in the background don't have to be as sharp and clear as the ones for the front.
Once I pick the fabrics for the plants, trees etc., I will decide if I want to paint the fabric for the sky. I pick a 200 thread count white cotton to paint on for the sky.
I am going to work on enlarging my picture tonight and I hope I can finish it by Monday. If I do I will post it.
For this quilt I want to post each step and I would like to make a video to put on this blog ,for some of the steps of the work I do. I am still learning how to do that right, so it might be something I end up doing for one of my next quilts.
This quilt will take at least a few months to make because I will paint fabric, make beads if needed, make appliqués, embroider and make 3-d flowers etc. Each of these things is time-consuming. Unlike some fiber artists, I get tired very easily because of my physical challenge, and I can only work straight for so many hours a day. A friend helped me to create my work space and table for my machine, etc. to fit my wheelchair.
My process of making my quilts take a lot of time but I love it because I get to use so many techniques. i have taught my self from watching other artists on TV and also on some of the online tutorials. I love to watch other artists so that I can learn new skills to help me make my quilts better.

Thursday, September 30, 2010

First Sketch for My New Quilt


This is the first drawing for one of the new quilts I am making. I will refine this drawing in the next couple of days. I usually do three or four drawing before I get the final one I will use. I need to decide on which elements I want to put in or leave out.
I want a small waterfall, a stone bench, wind chime and lots of plants. I also want some small birds in several places. I want to have a round archway for the front of the garden. I also would like to add some spiritual symbols somewhere in the piece.
I sorted through my fabric today and that took me quite awhile to do.
The light source will come from the right side of the quilt. The time will be early morning. I like to pick the time of day for the quilt at the beginning because this helps me decide which fabrics to use.

Monday, September 27, 2010

Starting a New Quilt


Good Morning.
Well another week is at hand and I am very excited. This weekend I finally decided what I want to do with the new quilt I am thinking of starting. Today I will be working on the first drawing of my ideas and I will post the drawing tomorrow then I will spend the day picking out some fabrics.
I think I will start on the spirit/meditation quilt first. I spent a few hours yesterday gathering ideas from sites I found in the net. There are so many beautiful gardens around the world but my focus was on spiritual and meditation gardens.
I wanted to find out what elements were most popular to have in those types of gardens.
I am toying with the idea of doing several of these types of quilts and I think I will make them with a round shape. It is my favorite shape and the circle brings good energy.

Tuesday, July 27, 2010

Putting a Sleeve on a Round Quilt - Part 7


This is the tube put in place where it will be stitched down.Once the tube is stitched down a dowel, to hang the quilt, can be inserted . I am using a ruler as an example in this photo. Using my method the top edge of my round quilt will not flop forward.I will post pictures of the quilt sleeve once I am finished with these last few steps.

Putting a Sleeve on a Round Quilt - Part 5


This is a picture of the hardboard placed on the back top edge of the quilt. On top of that is the piece of fabric I am using to cover the hardboard. I will attach the semi-circle of fabric to the upper edge of the quilt under the binding.

Monday, July 26, 2010

Putting a Sleeve on a Round Quilt - Part 4


From the other end I cut a 8-1/2 in. wide piece of fabric. I measured the edge of my quilt and cut the strip so it was 1 inch from the edge of the quilt.  Then I made a 1/4 inch seam on each end of the strip.. Next I folded the strip in half and stitched the strip along the edges. I turned it inside out and made a tube. I ironed the tube and set it aside.
I had a friend cut me a semi-circle of a piece of hardboard. I will take the semi-circle of fabric and hem it and sew it to the edge of the quilt. To do this I am going to have to remove the binding stitches from the top edge of the quilt . Then put the semi-circle of fabric on the edge fold over the binding and resew the binding to the quilt . I will leave the bottom unstitched and place the hardboard inside. Then I will hand sew the bottom edge of the semi-circle down.

Putting a Sleeve on a Round Quilt - Part 3


I hemmed the semi circle with a 1/4 in.seam.

Putting a Sleeve on a Round Quilt - Part 2


I took the fabric that I had cut for the sleeve and cut a semi circle from the end.

Sunday, July 25, 2010

Putting a Sleeve on a Round Quilt - Part 1

Well I tried to make a sleeve using instructions from a book that I have and I just could not figure it out. After pinning it to the quilt I realized that the top would flop over to the front when the quilt was hung. SOOOOOOOOOOOOOO, back to the drawing board I went and I came up with a new idea for a sleeve that would work for my round quilt.
I am working on it right now and I will post some pictures of the new sleeve today once I am finished. I will delete the old pictures once I finish the new sleeve.
Not all ideas work and when that happens I look for another way to accomplish the task at hand.

Friday, June 11, 2010

Egyptian Quilt Progress


I made sure everything was pinned down on the quilt in the places I need each piece to stay. I set up my ironing board next to my sewing machine and made sure they were the same height.
I put the quilt on a foam core board so that I could move it to my sewing machine.
I leave my quilts on the foam core board so I am able to move the quilt around while stitching little areas I am able to slide off.
On this quilt I will have to do some hand stitching because the appliqué pieces I made are sticking out of the quilt by about 3 to 4 inches. So it will be impossible for me to sew them on the machine.
This is the stage of making the quilt that takes slow steady stitching. It isn't as complicated as some of my quilts have been but there is still a great deal of stitching to do.
I made the appliqués so they show the life cycle of the Blue Lotus.
It is a very interesting plant with an ancient history.

Saturday, June 5, 2010

Another Day in My Egyptian Garden


Here is a picture of some pretty green striped fabric that I think I will use for the border. I will cut a bias strip and put it on the quilt edge to see how it looks.
I made the other seed pod and sepals for the lotuses today and after sewing them I pinned them to the quilt. I also moved the vines. The vines will be thinner once they are stitched in place.
One of the next things I will add is water reeds to the pond. I cut a couple today to see how they look and to make sure the size is right. I also decided to resize the pond and move it. Decisions, decisions . . .

Blue Lotus Seed Pods and Other Parts in Place


I have started arranging and pinning all the elements I made for the quilt. I was also able to finish the blue lotus seed pods yesterday and get them pinned to the quilt.

Sunday, May 30, 2010

Making Lotus Leaves


I am making the leaves for the Blue Lotus today. After dyeing my fabric and heat setting the dye I drew my design for the leaves on tracing paper so I could move it across the surface of the fabric to choose the color I wanted for each leaf. After sewing my leaves together I free motioned stitched the surface of each leaf. Now I will add them to the quilt sewing only on the vein lines to give the leaf dimension.

Friday, May 28, 2010

My Hand-dyed Lotus Leaf Fabric, Pattern and Vines


Here are photos of my hand-dyed fabric for the lotus leaves, the patterns I made for the leaves, and a picture of the stems I made for the flowers and a couple of pictures of lotus pods.I sketched.
Next I want to make blue lotus pods to go on the quilt. I have been working on the design and construction technique today. It will take a few days to figure out how I want to make the pod. I am aiming for a 3-d look with these flowers.

Painting Stamens of Lotus Flowers


Here I am painting the stamens for the center of the flowers. As you can see, it is quite tedious  to get everything just right.

Blue Lotuses Looking Good


Here are the finished flowers, buds, and flowers pods that I made to use on the quilt. I will appliqué them on to the surface of the quilt.